Wireguard with Docker
Self hosting Wireguard VPN
Self-hosting your own VPN is dead simple, with docker. There’s a project called wg-easy which makes it even simpler. It would hardly take you 10 minutes before you are up and running.
Some prerequisites
Alright, you have decided to self-host. So, what do I need? Well, you just need a server which has a good amount of bandwidth capacity and a domain pointed to your server IP. Obviously, it all depends upon your usecase.
After that, install docker on it. Aaand, we are good to go. Oh wait, you would also need a WireGuard client. For Linux, there are no GUI clients.
I have used the official cli client, wireguard, which you can install (assuming a debian based distro) by simply:
sudo apt install wireguard -y
Luckily, windows has a GUI client which you can download and install from here.
Installation and configuration
Now that the boring part is out of the way, let’s jump right into it.
There is a docker-compose.yml file already available in their repo. I am going to use that and edit the environment variables a bit. Also, we want to put this behind a reverse proxy if you want to use the web interface from anywhere (I will be using Caddy).
But, for some reason, if you don’t want to use a reverse proxy then you gotta ssh port forward to access the web interface.
Copy and paste the following compose in your docker-compose.yml file.
services:
  wg-easy:
    environment:
      - WG_HOST=wg.domain.com
      - PASSWORD=securepassword
      - WG_PORT=51820
      - WG_DEFAULT_DNS=1.1.1.1

    image: weejewel/wg-easy
    container_name: wg-easy
    volumes:
      - .:/etc/wireguard
    ports:
      - "127.0.0.1:51820:51820/udp"
      - "127.0.0.1:51821:51821/tcp"
    restart: unless-stopped
    cap_add:
      - NET_ADMIN
      - SYS_MODULE
    sysctls:
      - net.ipv4.ip_forward=1
      - net.ipv4.conf.all.src_valid_mark=1

  caddy:
    image: caddy:latest
    container_name: caddy
    restart: unless-stopped
    ports:
      - "80:80"
      - "443:443"
    volumes:
      - /your/path/caddy/Caddy/Caddyfile:/etc/caddy/Caddyfile
      - /your/path/Caddy/caddy_data:/data
      - /your/path/Caddy/caddy_config:/config
Most of the env variables are self explanatory. You can use your own DNS. One more thing, if you are using a firewall then you should open the WireGuard port to avoid any kind of troubles.
Run the compose file.
docker compose up -d
Both the containers should be up and running. You can check this with
docker containers ls
Now, we have to edit the Caddyfile, which is in the caddy folder
wg.domain.com {
    encode gzip
    reverse_proxy wg-easy:51821
}
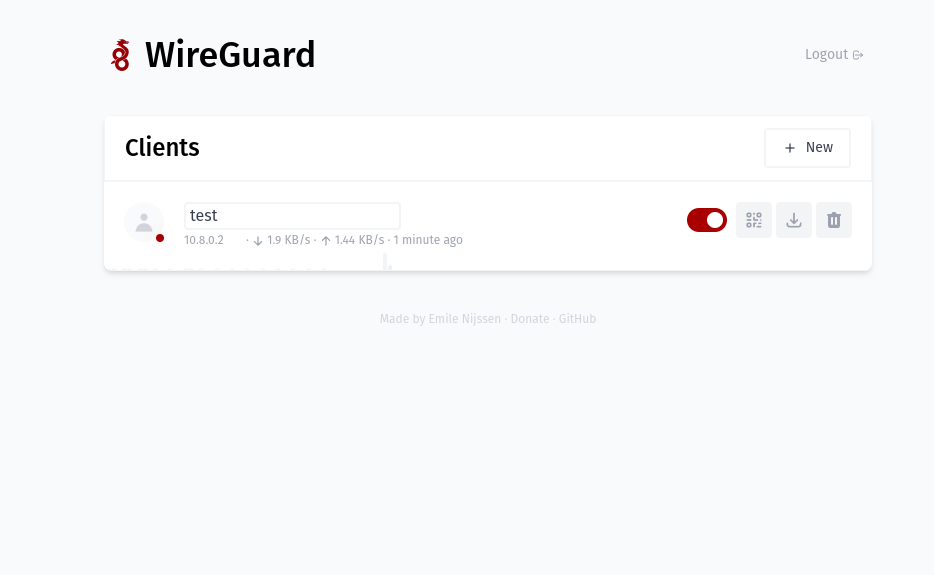
Restart the container and the web interface should be visible.
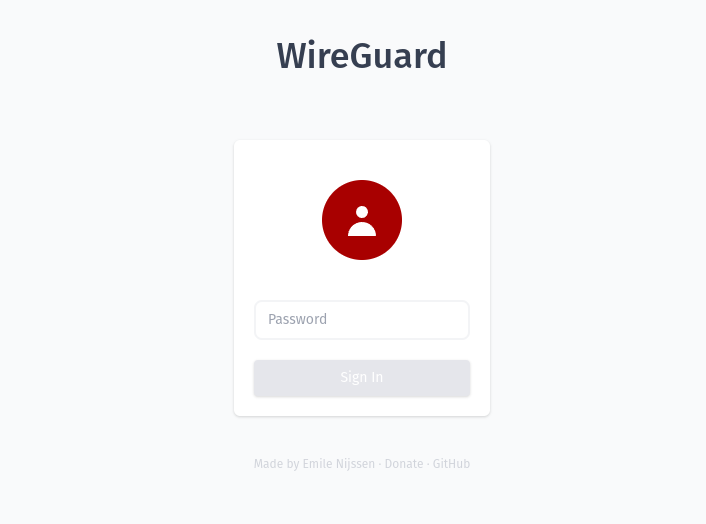
Now, you just have to create a config file and load it in the client. Click on new and then download the config file.
For Linux
Move the config file to /etc/wireguard/test.conf (assuming your config name is test).
We will use wg-quick to connect.
wg-quick up test
This will start the WireGuard tunnel and you can check the connection with
sudo wg show
If you want to terminate the connection, run
sudo wg-quck down
For everything else
Just load the config file in the client and you are good to go.