Hosting IRC server
I have been using IRC for the last couple of months and it’s been an awesome experience so far. The beauty of IRC is that it’s extremely lightweight and everything is raw text. It’s a refreshing experience from a world of clunky and resource intensive chat applications.
Although, most of them do offer rock solid encryption which could be the reason why some of the instant messengers such as element or signal are a bit slow.
Anyway, today we will be hosting ngircd which is a fast and lightweight IRC server. ngircd has a really good documentation which you can follow for more information.
We will be using certbot for generating certificates and nginx for reverse proxy.
Building
First, we will install required packages for the build:
sudo apt install build-essential gnutls-dev git certbot \
        automake nginx autoconf expect \
        libgnutls28-dev libident-dev libpam-dev pkg-config \
        libwrap0-dev libz-dev telnet libssl-dev gnutls-bin
Clone the repository:
git clone https://github.com/ngircd/ngircd
cd ngircd/
We will build it using --with-openssl for enabling SSL configuration:
./autogen.sh
./configure --with-openssl
sudo make install
Copy certificates
Let’s first stop nginx and obtain certificates. Don’t forget to point the server’s IP to your domain.
Also, set the environment variable $DOMAIN with your own:
export DOMAIN=local.box
sudo systemctl stop nginx
sudo certbot certonly --standalone -d $DOMAIN
sudo systemctl start nginx
Copy the certificates and generate dhparams:
sudo cp /etc/letsencrypt/live/$DOMAIN/fullchain.pem cert.pem
sudo cp /etc/letsencrypt/live/$DOMAIN/privkey.pem key.pem
certtool --generate-dh-params --bits 4096 --outfile
 dhparams.pem
Configuration
Copy the sample config file from doc/sample-ngircd.conf.tmpl as ngircd.conf to ngircd directory:
cp doc/sample-ngircd.conf.tmpl ngircd.conf
The config file is very deep. You can edit a lot of options. The important one is enabling the ports under [GLOABL] flag. Remove the comment “;”:
# Ports on which the server should listen.
# There may be more than
# one port, separated with ",". (Default: 6667)
Ports = 6667, 6668, 6669
You can also set up password authentication. Under [GLOBAL], there is Password flag:
# Global password for all users needed to connect to server
# (Default: not set)
Password = 6S*g9KN^A@gXm2KeqGjQaESw*yo9!aXYfVZBxmf6z!4oR
Now to enable SSL, uncomment the following lines or just paste the whole config:
[SSL]
        CertFile = cert.pem
        CipherList = HIGH:!aNULL:@STRENGTH:!SSLv3
        DHFile = dhparams.pem
        KeyFile = key.pem
        Ports = 6697, 9999
Alright. We are done. Let’s test it.
Starting ngircd
If we look at help options, there are a few ways to start the server.
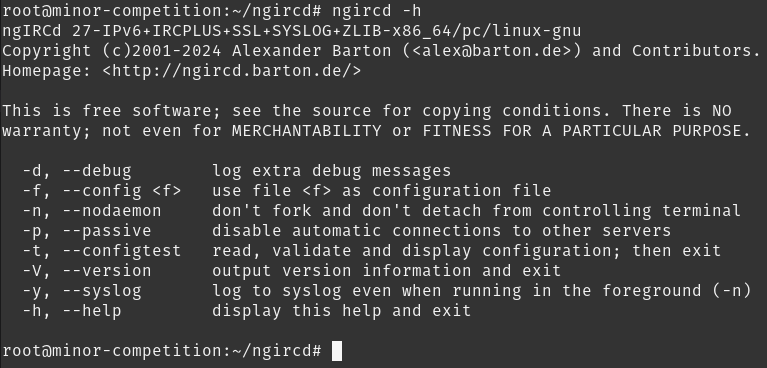
We will use -f to pass our config and let’s keep the terminal non detachable with -n, just to make sure it’s running properly. After which, we will set up a systemd service for it.
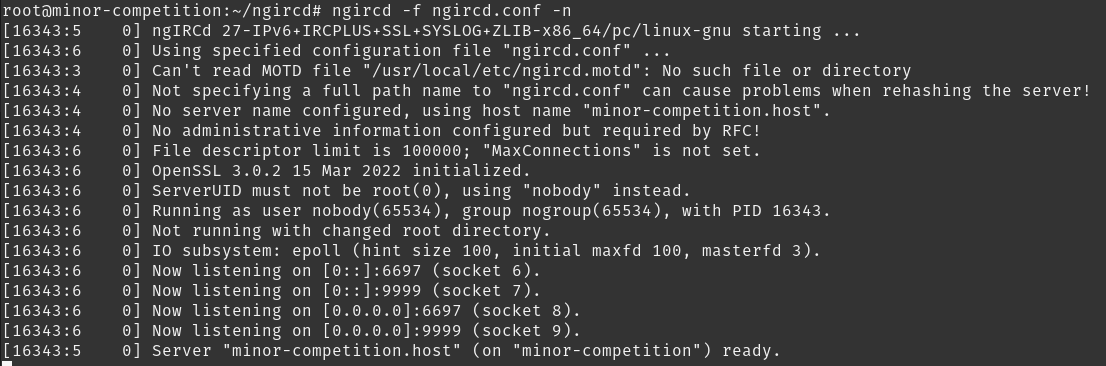
Sweet! You can either run it in background by removing -n or setup a systemd service, which is optional.
Systemd service
Let’s create a simple service at /etc/systemd/system/ngircd.service with following contents
[Unit]
Description=irc server
After=network.target

[Service]
Type=simple
ExecStart=/root/ngircd/ngircd -f /root/ngircd/ngircd.conf
Restart=always

[Install]
WantedBy=multi-user.target
Change ExecStart to your appropriate path of ngircd and ngircd.conf.
Start the service and reload the daemon:
systemctl start ngircd
systemctl daemon-reload
That’s it for this one. Keep experimenting!