Kubernetes Ingress on Bare Metal
I have been working on a self hosting project where I am deploying lots of services on a bare metal kubernetes cluster, mostly for learning purposes as I am quite aware it’s an overkill for the scope of my project.
There are lots of great blog posts on ingress but most of them are either about EKS, AKS, etc or locally deployed minikube cluster. I was more interested in deploying it on a self managed server so we will explore that in this blog post.
Basics
We will be creating three manifest files:
DeploymentServiceIngress
which we will expose using nginx ingress controller. I wanted to use caddy ingress controller but it still seems to be in early stage and I did not have any success in properly setting it up.
We will host uptime kuma as an example. You can use any other service of your choice.
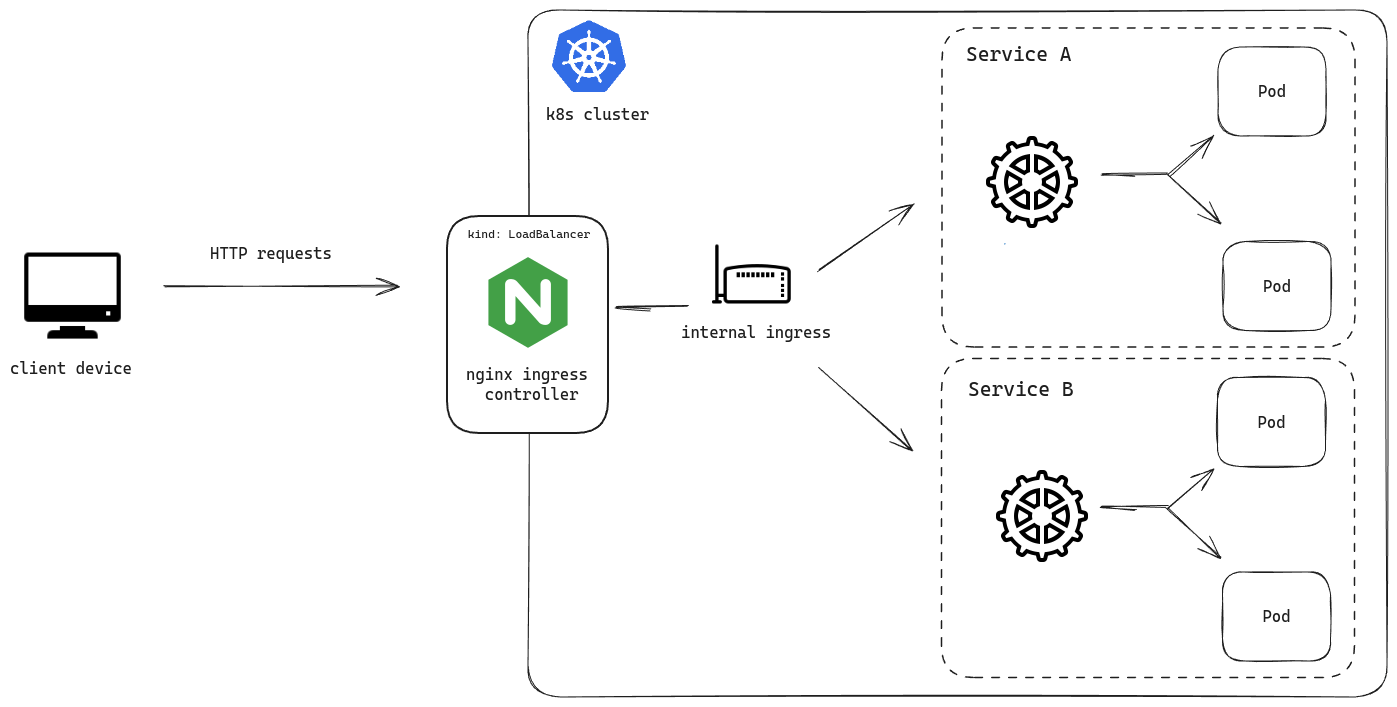
Here’s the simple architecture:
Creating resources
Let’s create our Deployment manifest.
apiVersion: apps/v1
kind: Deployment
metadata:
  name: uptime
  labels:
    app: uptime
spec:
  replicas: 5
  selector:
    matchLabels:
      app: uptime # the Pods that are handled by Deployment
  template:
    metadata: # metadata that will be added to each Pod
      labels:
        app: uptime
    spec:
      containers: # configuration for the running containers
        - name: uptime
          image: louislam/uptime-kuma:1
          ports:
            - containerPort: 3001
          resources:
            limits:
              memory: "256Mi"
              cpu: "500m"
And now, the Service manifest.
apiVersion: v1
kind: Service
metadata:
  name: uptime
spec:
  type: ClusterIP
  selector:
    app: uptime
  ports:
    - port: 3001
      targetPort: 3001
We will be using ClusterIP type so that the service is only reachable from inside the cluster.
Understanding resource types
The manifest has lots of different kinds of resources such as NameSpace, ServiceAccount, Role, ClusterRole, RoleBinding, ClusterRoleBinding, Job, Service, ConfigMap and Deployment.
Let’s first understand some of these resource types.
Everything with a Role comes under access control list:
| Access Control |
|---|
| Service Account |
| Role |
| Cluster Role |
| Role Binding |
| Cluster Role Binding |
A service account is basically just a way for a Pod to access the Kubernetes API for doing different operations.
Whenever you create a resource, a default ServiceAccount will be created. It’s not really useful tho but it’s required by every resource to have a ServiceAccount.
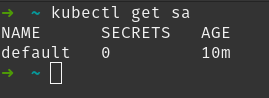
It’s pretty much empty, if we describe it:
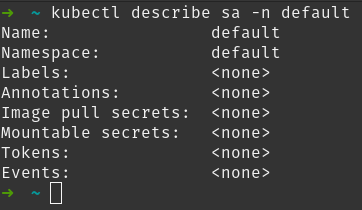
To make it useful, we have to assign permissions to it.
For checking the permissions of the default ServiceAccount, we can use can-i along with a verb which is basically the type of action that we can perform on that resource (such as get, view, create, etc)
kubectl auth can-i \
    <verb> \
    deployments/nginx \
    --as=system:serviceaccount:<namespace>:<service-account>

You should get no as a response.
Let’s create a new ServiceAccount and play around with it.
kubectl create serviceaccount nginx-service-account
To create permissions, we can use a basic Role or a ClusterRole for the whole cluster.
After creating it, we have to bind that Role to the ServiceAccount which can be done with RoleBinding.
kubectl create rolebinding nginx-service-account-readonly \
  --clusterrole=view \
  --serviceaccount=default:nginx-service-account \
  --namespace=default
Here, we are defining the role name nginx-service-account-readonly which will be able to get all the resources from the cluster.
Now, you can use it in any of your Deployment manifest. For now, let’s create a simple deployment and then specify the ServiceAccount:
apiVersion: apps/v1
kind: Deployment
metadata:
  name: nginx
  labels:
    app: nginx
spec:
  replicas: 5
  selector:
    matchLabels:
      app: nginx
  template:
    metadata:
      labels:
        app: nginx
    spec:
      serviceAccountName: nginx-service-account
      containers:
        - name: nginx
          image: nginx
          ports:
            - containerPort: 80
kubectl apply -f nginx-deployment.yaml
Let’s check if we have the view permission by using get verb:
kubectl auth can-i get \
    deployments/nginx \
    --as=system:serviceaccount:default:nginx-service-account

Deploy the controller
The bare metal manifest exposes two NodePort by default which are bind to 80 and 443. Read more about it here.
Apply the yaml file:
kubectl apply -f https://raw.githubusercontent.com/kubernetes/ingress-nginx/controller-v1.10.1/deploy/static/provider/baremetal/deploy.yaml
It will create a new namespace ingress-nginx where all of the resources will be created.
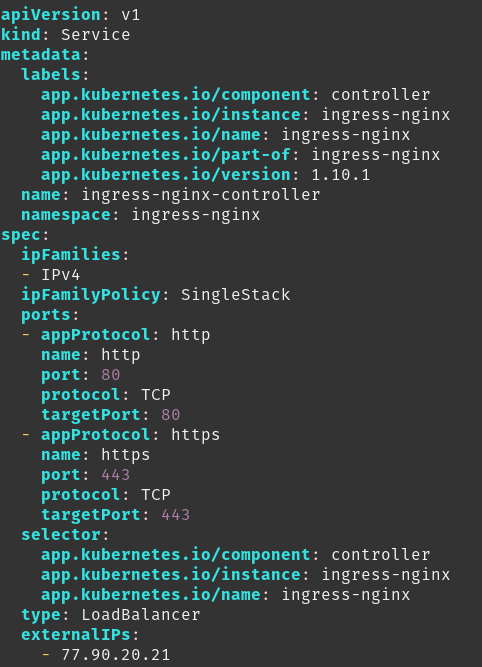
Let’s look at the service:

Notice that there is no ExternalIP assigned. This is expected in bare metal config. Cloud providers will automatically assign you a LoadBalancer IP which is different from your cluster’s IP.
Now, instead of using the NodePort everytime to access it, we can just specify a list of public IPs of our nodes under a new field called externalIPs and change the type from NodePort to LoadBalancer.
For that, we will edit the nginx-ingress deployment mainfest. Search for ingress-nginx-controller service or alternatively search for NodePort (only one occurrence in the whole file).

Change the type and add a new field called externalIP. Don’t forget to add all the IPs of your nodes in the list.
If we look at the service again, it will show the external IP.

We can now deploy our application easily and access it from the DNS name. After applying the Deployment and Service manifest I mentioned in the beginning, create an Ingress file:
apiVersion: networking.k8s.io/v1
kind: Ingress
metadata:
  name: ingress-uptime
spec:
  rules:
    - host: uptime.host.xyz
      http:
        paths:
          - path: /
            pathType: Prefix
            backend:
              service:
                name: uptime-kuma
                port:
                  number: 3001
  ingressClassName: nginx
Don’t forget to create the A record which will point the DNS to your externalIPs. After applying it, you should be able to access the service from the domain.
That’s it for this one. I will try to write another post where we will use cert-manager for creating SSL certificates for all the services.