A minimal tailscale setup
I was looking for ways to access my homelab from outside. The very first obvious thing was setting up VPN connection with WireGuard. But currently, I do not have a static home IP so I had to think about some other way.
After countless hours of looking on the internet, I decided to use Tailscale. I had briefly used it before so I was a bit familiar with it. In this post, I will outline my setup.
Some background
Tailscale is a sort of WireGuard on steroids. It’s built on top of WireGuard. It creates a mesh network i.e. all the devices can communicate with each other. It is quite easy to use and looks like magic at first.
Basically, they have a coordination server which keeps all the public keys of the clients that would like to be discovered and ensures that the private key stays on that client. All the communication is end-to-end encrypted. Their coordination server is still closed source tho.
As with everything, always verify the claims. I was looking at the traffic for a few hours with wireshark and found nothing unusual.
They already have an awesome blog post which describes the inner workings of the service. Check it out here.
Setup
Alright, so Tailscale uses different SSO providers for signing in because, according to them, that is more secure than signing up traditionally with an email address.
After signing in, you can will get a tailnet where all your clients will be able to communicate with each other after installing tailscale on each of them.
It’s painful and quite tedious to install on ALL of your systems. Let’s instead have a single VM advertise the whole subnet.
From the docs, there are a few pre-requisites for the setup. Enable IP forwarding:
echo 'net.ipv4.ip_forward = 1' | sudo tee -a /etc/sysctl.d/99-tailscale.conf
echo 'net.ipv6.conf.all.forwarding = 1' | sudo tee -a /etc/sysctl.d/99-tailscale.conf
sudo sysctl -p /etc/sysctl.d/99-tailscale.conf
And then run tailscale up with --advertise-routes
sudo tailscale up --advertise-routes=192.168.0.0/24,192.168.1.0/24
Replace it with your own subnet obviously.
The next important thing is to enable tailnet lock. It prevents unknown nodes from being added to your tailnet and distrusts the coordination server. Go to settings and under device management, you can enable it:

Don’t forget to disable Send disablement secret to Tailscale support.
DNS
If you are using pi-hole or any other DNS, it won’t work by default. Now, there is a guide in the docs about it.
If you want to follow that, go ahead. But I have used a more simpler approach. The one which only requires adding your DNS IP to your tailnet.
Under DNS, you will see Nameservers section:
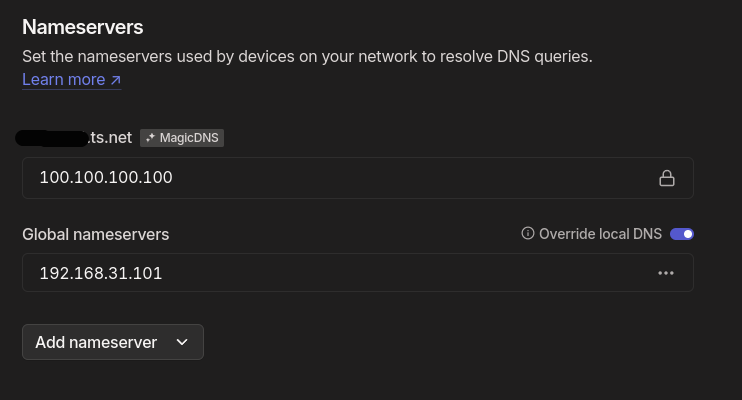
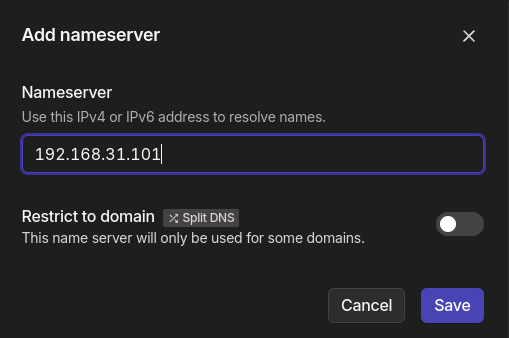
Go ahead and add the custom nameserver. Enter your DNS IP:
Toggle the Override local DNS. That’s it.
Now, you will be able to resolve all your local DNS domains.
Disable logging
Tailscale logs the following information:
Tailscale collects customer metadata related to connection attempts, authentication, and routing to help us to monitor and debug networks. You cannot limit coordination server logs.
To disable client side logging:
tailscaled --no-logs-no-support
That’s pretty much it.